Setting up Local Environment to Develop Angular Applications
Aug 4, 2017 · 3 minutes read · Follow @luixaviles

Angular is definitely in a great stage and every new version comes with awesome features. The project itself comes with great tools that will allow you to start to develop web applications from scratch.
A common question, from the people that I know, is about the tools they need in their environments before starting to develop with the framework, and that’s why I decided to write this post.
From my point of view, you’ll need to install the following tools in your local environment.
Git
According Understanding Git:
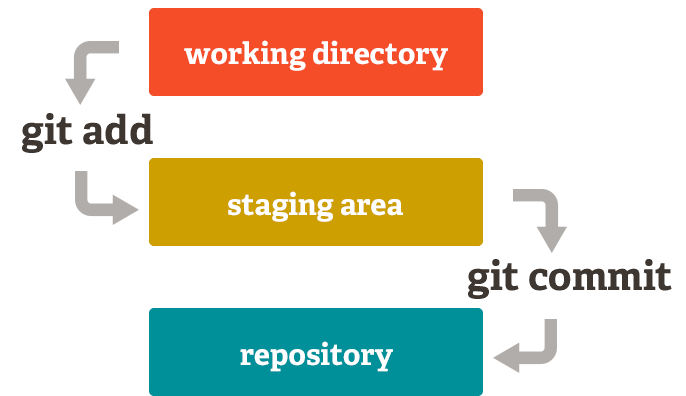
The purpose of Git is to manage a project, or a set of files, as they change over time. Git stores this information in a data structure called a repository.
Find and download latest version of this version control system here.
NVM(Node Version Manager)
A recommendation is to use the latest LTS version, especially in production environments. However, instead of having Node installed directly on your system, I suggest to install it through NVM.
NVM is a great tool that will allow you to manage multiple Node versions in your local environment. You can move forward with it even for Node projects.
Once you have installed NVM, you should be able to see its version using following command:
nvm --version
If the command result shows any error message, please take a look on registered GitHub issues for your NVM choice.
If you still have problems running nvm in your environment, you can move forward and download Node installer and continue with next steps.
Installing Node, using NVM
macOS and GNU/Linux users
Just type the following commands:
nvm install --lts nvm use --lts node --version
Windows users
You’ll have to take a look on the Node.js website to know the version number of latest LTS. After that, you can install it using the following command:
nvm install 10.15.0 nvm use 10.15.0node --version
Yarn
Yarn defines itself as a fast, reliable and secure dependency management tool(and I believe them). That’s why I prefer to use this awesome tool to manage node modules into Angular projects.

Your can find the steps to install Yarn on your platform here.
If you have any problem with the installation process you can try to move on with this command:
npm install -g yarn
Whatever method you used to install Yarn, you should be able to verify it by doing:
yarn --version
Visual Studio Code
According to the Visual Studio Code website, it combines the simplicity of a source code editor with a powerful developer tooling, like IntelliSense code completion and debugging.
It is available for macOS, Linux, and Windows. Aditionally, it’s a very active Open Source project. I highly recommend it to work with any Angular, Node or TypeScript project.
You can find the installer here.
HTTP Server
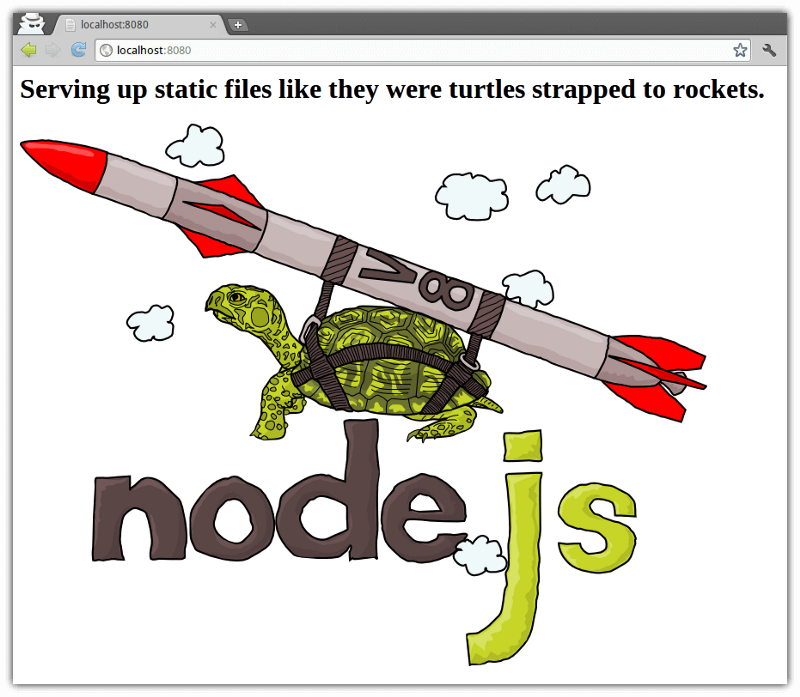
This is a command-line http server, which allows you to serving up static files in a simple way. You can use it for testing purposes and local development.
Http server can be installed doing:
npm install -g http-server
Take a look on the GitHub repository to learn more about this powerful tool.
If you liked this post, be sure to share it with your friends.
You can follow me on Twitter and GitHub to see more about my work.
Thank you for reading!
— Luis Aviles